

I bought my first tennis bracelet in June, at 61 years old, and the sizing nearly undid me. I had worn one plain gold band since Walt put it on my finger in 1986 and nothing else on my wrist, ever. So when the PAVOI tennis bracelet arrived with a fold over clasp I could not work one handed, I sat at my kitchen table and thought, well, Marlene, you have finally bought something you cannot operate. That was five months ago. I can work the clasp fine now, and I know exactly how long a bracelet should be on my own arm, which is not something I could have told you in June.
Two things were tripping me up, and neither one was the bracelet's fault. The first was length. Seven inches is the standard size, and standard is not the same as right for your particular wrist. The second was care. A 14K gold plated bracelet with prong set cubic zirconia is not fine jewelry, and it does not want to be treated like it. It wants to be kept dry and wiped down after you wear it. Do that and it stays bright. Skip it for a few months and the shine goes flat, and no cloth brings it back. So here is everything I learned, in the order I learned it.
The bracelet all five of these steps are about
14K gold plated, 3mm round prong set stones, 7 inches, fold over clasp. This is the piece I measured against my own wrist in June and have worn most days since.
Amazon Check Today's Price on Amazon →Step 1: Measure the wrist you have, not the bracelet you want
Get a number off your own arm before you look at a single listing. Wrap a soft measuring tape around your wrist bone, that little bump on the outside, and pull it snug, not tight. Write the number down. If you do not own a soft tape, cut a strip of paper, wrap it around, mark with a pen where the ends cross, and lay that against a ruler. You want the number in inches, and you want it on paper, because you will absolutely forget it by the time you are three listings deep on a Saturday morning.
Then add room. Half an inch gives you a close fit that stays where you put it. Three quarters of an inch to a full inch gives you the drape most people mean when they say comfortable. My wrist measures six and a half inches, so a seven inch bracelet sits with about half an inch of play. That turned out to be exactly what I wanted, though I could not have told you that in June. I would have guessed wrong and bought something snug.
Measure at the end of the day if you can. Wrists swell a little as the hours go by, and a bracelet that fits at seven in the morning can feel tight by supper. And measure twice. My first paper strip came out a half inch off because I let the ends overlap instead of meeting them, and I nearly ordered on that number. Two minutes of care here saves you a return.
Step 2: Decide how you want it to hang
A tennis bracelet is a row of jointed links, so it drapes and slides rather than hanging like a chain. That changes what length you want. Too long and the thing flips over on your arm, putting the clasp at the top of your wrist where everybody can see it. Too short and it climbs up your forearm every time you bend your hand, and it never slides back down on its own.
Think about when you will wear it. Mine is a daytime piece. Church on Sunday, lunch with Donna on Thursday, the church office on Wednesday mornings, the grocery store on Saturday. I wanted it to look like I had made an effort, not like I was headed to a party. A little room does that. A close fit reads more formal, and it stacks better if you wear other bracelets on that arm.
Here is the honest part about the PAVOI bracelet in particular. It comes in seven inches, one size, so the measurement in Step 1 is not optional. If your wrist measures seven inches or more, this is not your bracelet, and no amount of wanting it will change the arithmetic. I would rather tell you that up front than have you find out with a clasp digging a mark into your wrist bone by lunchtime.
Step 3: Learn the clasp before you leave the house
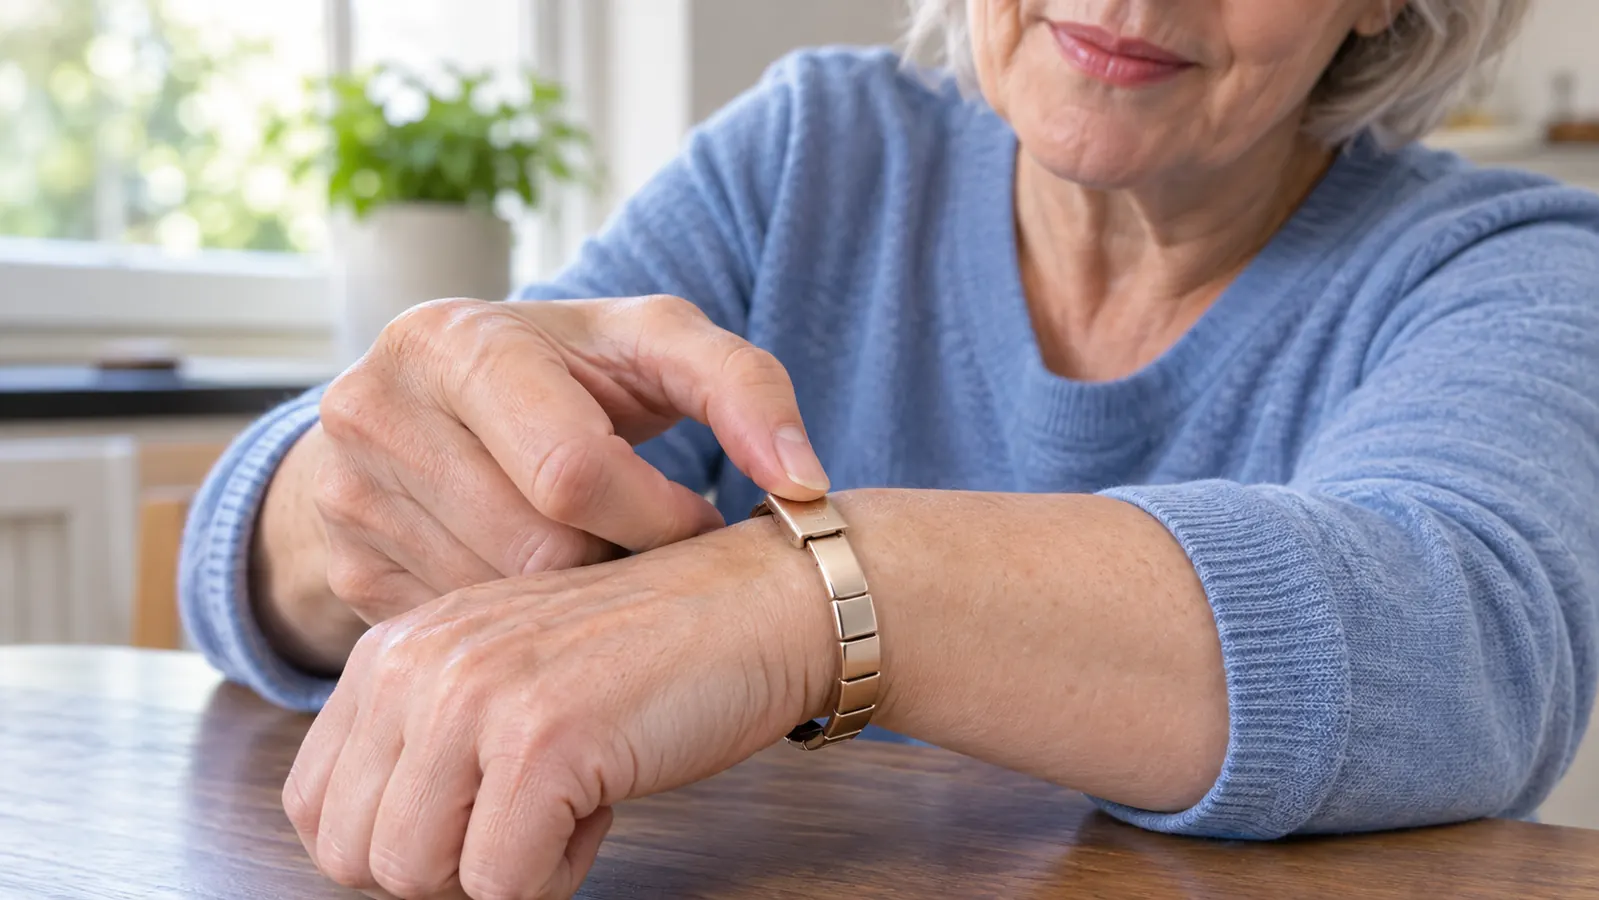
The fold over clasp is what made me feel like I had ten thumbs. It is a flat tongue on one end that slides into a slot on the other, and then a hinged flap folds down over it and clicks flat. Two motions, and the second one wants a little thumb strength. The first time I tried it in the car, I gave up and put the bracelet back in the box.
Practice at the kitchen table first. I laid mine flat on the table and did it ten times in a row before I wore it anywhere. The trick for me was to brace the bracelet against the edge of the table so it could not slide away while I worked the flap. On your wrist you will be doing it one handed, and you will want a system. Mine is to hook the tongue with my index finger, hold the bracelet steady against my other wrist, and fold the flap down with my thumb.
Then check it before you stand up. The flap should sit flush and flat against the chain. If it stands up even a hair, it is not closed and it will come open on you. Give the whole thing a gentle tug. Better to find that out at the table than in a parking lot with a stone somewhere in the gravel.
Step 4: Put it on last and take it off first
In my house, jewelry goes on last. Lotion, then hairspray, then perfume, then earrings, necklace, rings, bracelet. Plating does not care for any of the first three. Hairspray is the worst of them, because it leaves a film that settles into the little spaces around a prong setting and dulls the shine until you wipe it out.
Coming off, the list runs backward. Everything comes off at bedtime. It comes off for a shower or a bath, for swimming, for gardening, for any cleaning job that involves a spray bottle or a bucket. My rings and my bracelet also come off to wash dishes. Yes, I know how that sounds. The wedding band stays on. That one is real gold and it has not been off since 1986.
Five months in, my bracelet still looks the way it did the week it arrived. Not because plated jewelry is tougher than people say, but because it has never sat in a sink full of soapy water. Keeping it dry is the single most useful thing you can do, and it costs nothing. One more note and then I will stop. Do not sleep in it. A bracelet against a mattress and a sheet for eight hours is a bracelet being rubbed on two surfaces at once, and the clasp does the rubbing.
Step 5: Clean with a cloth, not a dip
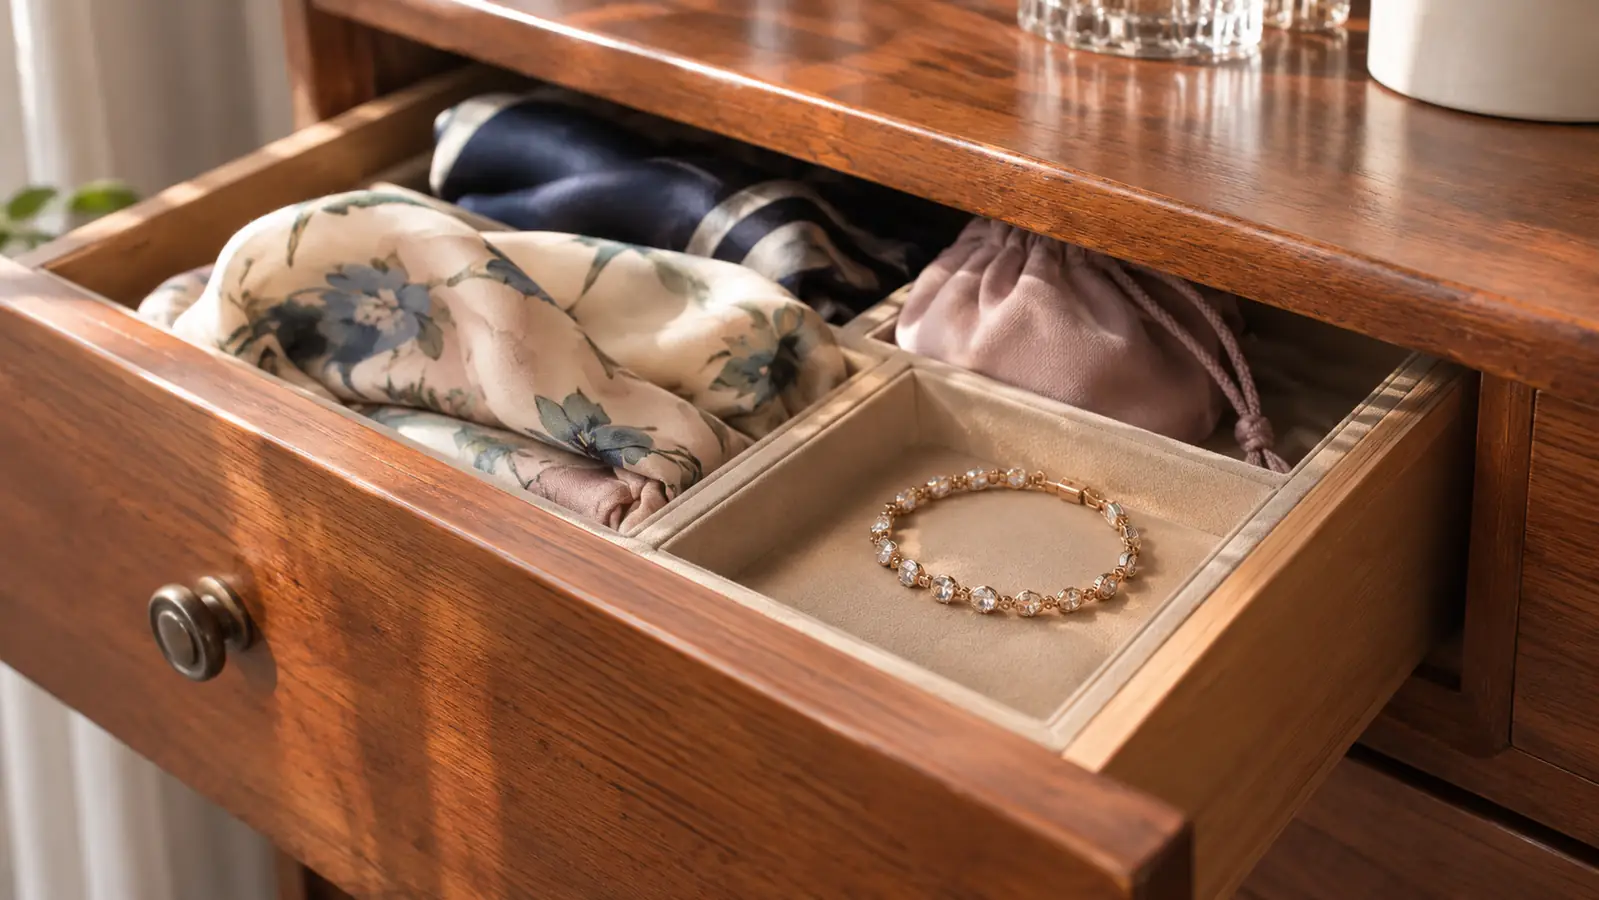
After you take the bracelet off, wipe it down. A soft dry cloth, the kind that comes with eyeglasses, run along the full length, front and back. That is the whole routine. Fifteen seconds, and it lifts the oils off your skin before they can set into anything. I do mine right at the dresser while I am putting the other pieces away, so it never becomes a separate chore.
The prong settings are where the grime hides. Hand cream, lint off a sweater sleeve, dust from a drawer. Use the corner of the cloth, or a dry cotton swab, and go around each stone gently. Do not scrub at the prongs themselves. They are thin metal holding the stones in place, and a loosened prong means a lost stone, and a lost stone on a PAVOI bracelet is not something you can fix at home.
Now the list of things to skip, because I have heard every one of them from friends. No liquid jewelry dip. No silver polish. No ultrasonic cleaner, not even the small countertop kind. No toothpaste, no baking soda paste, no hot water. All of that is fine for solid gold and hard on plating, and the dip is the worst of the bunch because it can lift a patch of plating right off. Store the bracelet flat and clasped in its own compartment so the stones are not grinding against other pieces in a drawer.
Five months of near daily wear and mine still looks like it did in June, and the only thing I have done differently from my friends is take it off before I wash a dish.
What Else Helps
A small soft pouch for travel. When I go to Kelly's in Kennesaw for the weekend, my bracelet goes in a pouch at the top of my bag, not loose in the bottom with keys and a phone charger. Cubic zirconia chips. It only takes one good knock against something hard, and then you have a dull spot that no cloth will polish out.
Expect some wear at the clasp eventually, and do not let it surprise you. Plated jewelry wears fastest where it rubs, and on a tennis bracelet that is the clasp edges. Five months in, mine is fine. A couple of years in, I would expect the clasp to look a little duller than the rest of the row. That is plating doing what plating does, and it is the trade you make for a piece that costs about what a nice lunch costs. Gold vermeil at a department store counter has a thicker layer of gold over sterling silver, and it is priced to match. I admired one through the glass. I did not buy it.
Think about what else sits on that arm. My wedding band is plain gold and lives on my left hand, so the PAVOI bracelet has its own wrist and nothing to rub against. If you do stack, put the plated pieces above the solid ones, because the harder metal wins every argument and it will wear the plating off the softer piece next to it.
And if a piece makes your skin red or itchy, take it off and leave it off, and see a doctor or a dermatologist if it keeps up. Plated jewelry gets called hypoallergenic all over the place, but that is not a guarantee of anything. My earlobes have opinions about cheap earrings, so I pay attention to this. My wrist has never had a problem with this bracelet, and I still would not call that a promise for yours.
Measure your wrist first, then go get the seven inch one
14K gold plated, 3mm round prong set cubic zirconia, fold over clasp. Mine has been in rotation since the first week of June and it still looks like June.
Amazon Check Today's Price on Amazon →